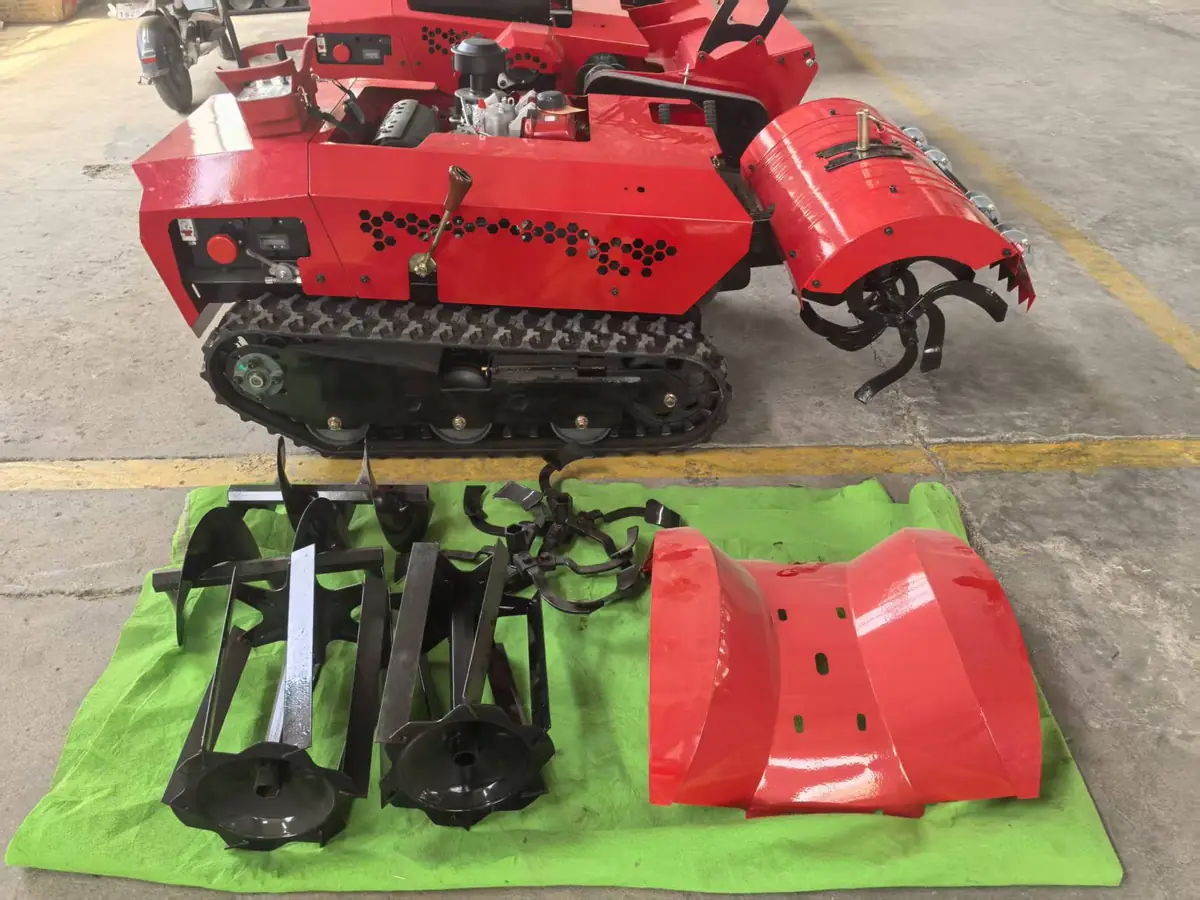
Switching tools on a remote crawler can look simple. The machine is ready only when the attachment, mount, power connections, control settings and pre-start checks all match. A repeatable remote crawler machine attachment changeover workflow helps crews avoid rushed hookups, protect equipment and hand the machine over with confidence.
Why a planned changeover matters
A machine can look ready while a small mismatch is waiting to cause trouble: a mount that is not seated, a loose fastener, a hose routed against a sharp edge, or a control setting left over from the previous tool. A short checklist makes those details visible before work begins.
Use the machine and attachment manuals as the authority. Different carriers use different mounts, hydraulic layouts, electrical connections and control profiles. Do not assume that two tools that look similar share the same interface.
Remote crawler machine attachment changeover workflow
- Confirm the match. Check the carrier model, attachment model, mounting interface, drive or hydraulic requirements and any approved configuration. Ask the supplier if any point is unclear.
- Choose a stable work area. Park on firm, level ground away from traffic and bystanders. Lower the attachment, set the parking or isolation controls specified by the manual, and keep the remote control with the operator.
- Inspect before disconnecting. Look for damaged guards, bent mounts, worn pins, leaking hoses, loose wiring and debris around the coupling. If a hydraulic tool was just used, follow the manufacturer’s pressure-relief procedure before touching a connection.
- Remove and secure the current attachment. Use the correct lifting or support points and the manual’s removal sequence. Keep hands and feet out of pinch zones. Do not force a pin or coupling that will not release.
- Fit the next tool. Align the mount, install the specified pins and retainers, connect hoses and electrical plugs as directed, and route lines so they cannot rub, snag or contact hot or moving parts.
- Check the controls. Confirm that the selected tool and control response match the machine setup. Keep people clear while checking direction and response.
- Test before returning to work. Start with the attachment raised or unloaded when the manual permits, then make a brief low-speed test in a clear area. Stop immediately if the tool moves unexpectedly, vibrates unusually, leaks or makes a new noise.
Changeover checks at a glance
| Check | What to verify |
|---|---|
| Compatibility | Carrier, attachment, mount and required power match the approved setup. |
| Isolation | Machine is parked and made safe under its manual before connections are handled. |
| Mounting | Pins, retainers and locking points are fully seated. |
| Connections | Hoses and plugs are clean, undamaged and routed without tension or rubbing. |
| Function | Controls respond as expected during a short, low-speed test. |
What to record for the next operator
Write down the attachment fitted, the date, any wear or damage noticed, and any settings the next operator needs to know. A quick handover note prevents the next shift from guessing which tool is on the machine or whether a repair is still pending.
Common questions
Can I change attachments with the machine running?
Follow the machine manual. Unless it specifically provides a safe procedure for a particular adjustment, stop and isolate the machine before disconnecting or fitting an attachment.
Can I use a similar-looking attachment from another machine?
Looks alone do not confirm fit. Verify the mount, weight, power needs, control setup and approved carrier combination first.
What should I do if the tool does not respond correctly?
Stop, isolate the machine and recheck the approved connection and control setup. Do not keep testing a tool that moves unexpectedly or has a leak.
Make the tool change part of the job plan
When a crawler handles more than one task, planned changeovers help crews keep the machine, attachment and operator handover in sync. Review MERI’s multi-function machine range and confirm attachment compatibility for the exact configuration before ordering.
Share the machine details, attachment and connection photos, and the work you need to do.
Further reading: MERI machine and attachment operating manuals; supplier-approved configuration documents.
Need a mower recommendation for your terrain or project?
Get a Quote