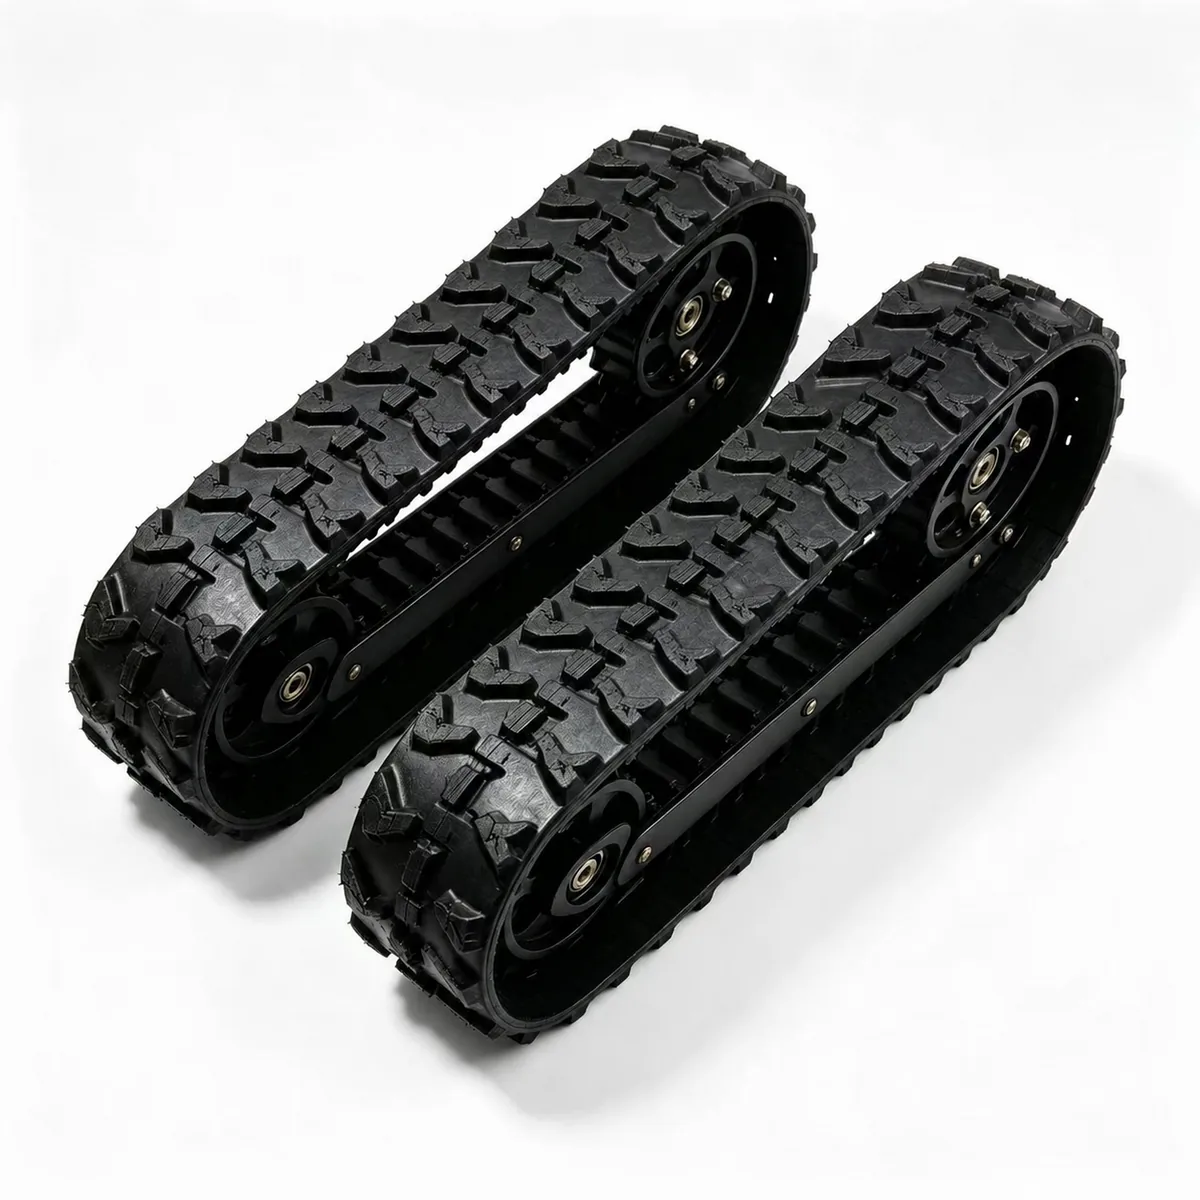
Inspect your remote mower’s tracks before every use. The goal is simple: begin work with tracks that are aligned, free of trapped debris, and neither excessively loose nor overtightened. A short, repeatable inspection helps operators spot a changing undercarriage before it causes an unexpected breakdown in the field. This guide focuses entirely on preventive pre-work tension inspection. If a track has already come off, stop operations, consult MERI’s separate derailment troubleshooting guide, and do not resume work until the underlying cause is fully resolved.
Start With the Actual Chassis System
A rubber track does not operate in isolation; it is part of a complete mechanical system that includes the track belt, alignment guides, bottom rollers, front idler, drive sprocket, and the tensioning arrangement. Because of this, the correct inspection protocol depends entirely on your specific supplied machine. A sag dimension copied from a mini-excavator, a different mower brand, or an internet photograph is not a valid MERI setting. Always keep the delivered chassis instructions with your machine identification. If the authorized adjustment method or acceptable measurement range is missing, request it directly from MERI before altering the tension adjuster.
5-Step Pre-Work Inspection
1. Make the Machine Safe
Execute the specified shutdown and energy isolation sequence found in your manual. Keep all personnel well away from the travel tracks and cutting equipment until all movement has completely ceased.
2. Clear Trapped Debris
Look for packed grass, mud, baling wire, stones, or other field debris. Remove accessible buildup only after the machine is safely isolated, using the approved manual method. Never reach blindly into pinch points.
3. Compare Left and Right Sides
Evaluate both tracks side-by-side. Look for visible alignment differences, uneven seating on the sprockets, surface damage, or unusual wear patterns along the rubber lugs.
4. Inspect Undercarriage Hardware
Check all visible bogie wheels, alignment guides, and mounting hardware for impact damage, missing bolts, or severe looseness that could allow the track to wander.
5. Check Tension Using the Manual
Check the track tension using the exact procedure written for your chassis, and record the result if the manual provides a specific measurement. Looking straight and taut does not automatically prove the tension is correct.
Observation and Next-Step Guide
A visibly slack or poorly aligned track is a clear reason to stop and inspect, but it is not an automatic instruction to blindly tighten the tensioner. Trapped material, worn rollers, or damaged guides can easily distort a track’s appearance. Remember that an excessively tight track also fails inspection; MERI’s manual explicitly warns against both excessive looseness and overtightening. Do not use “tighter” as a default cure for every tracking symptom.
| Observation | Meaning & Next Step |
|---|---|
| Visibly slack or sagging track | Measure against the manual’s specifications. Inspect the undercarriage for trapped debris or worn idlers before attempting an adjustment. |
| Extremely tight or stretched appearance | Compare against the manual limits. Do not adjust from appearance alone. Use the authorized chassis procedure to restore the specified range. |
| Uneven left/right alignment | Inspect guides, rollers, and hardware for impact damage or looseness. Check both sides using the measurements and conditions specified in the chassis instructions. |
| Track repeatedly loses position | Stop work immediately. Refer to the derailment troubleshooting guide to identify the root mechanical cause rather than continually adjusting tension. |

The Restart Check and Post-Shift Cleaning
Adjustment belongs strictly to the correct procedure. When instructed by the manual, adjust both sides according to the delivered chassis instructions using only specified access points, tools, and support methods. Never loosen pressurized tensioning components or raise the heavy machine by guesswork. Work requiring lifting or complex repair belongs to a qualified technician equipped with the right gear.
The restart check is a mandatory part of the job. After an approved adjustment, clear the surrounding area and carry out the specified low-speed travel test before engaging the cutter. Watch for uneven movement, unexpected grinding noises, or continued misalignment from a safe observation position. If the problem remains, stop immediately. Do not run a badly tracking machine hard in hopes that the track will “settle in.”
Finish the shift ready for tomorrow. MERI’s maintenance instructions require removing packed grass, mud, wire, and debris after every use and inspecting the rubber for abnormal wear. Do not direct high-pressure water at bearings, electrical enclosures, connectors, or the remote receiver. A clean undercarriage makes your next pre-work inspection more useful.
Inspection Record Checklist
Maintain a simple, consistent log so technical support can track the machine’s history if a failure occurs. Keep records of:
- Date of inspection and current operating hours (if known).
- Visual condition of the left and right tracks.
- Type and location of debris removed from the undercarriage.
- Actual tension measurement and the specific manual reference used.
- Name of the individual who performed any adjustments.
- The result of the post-adjustment low-speed travel test.
- Any unresolved symptoms, supported by clear photos.
Frequently Asked Questions
How often should remote mower tracks be inspected?
Tracks must be inspected before every use, exactly as specified in the MERI operator manual. Daily checks help identify changes in alignment before work.
Is there one universal track tension gap for all remote mowers?
No. Track tension measurements and procedures vary significantly by model weight and undercarriage design. Always use the specific procedure outlined for your delivered chassis.
Can I just keep tightening a track if it repeatedly comes off?
No. Continually tightening a derailed track ignores the root problem and risks component damage. Identify the underlying cause—such as worn guides, severe impacts, or debris buildup—using the correct service instructions.
Source: MERI Remote Control Mower User Manual, pre-start inspection, cutting system and tracks, cleaning, and troubleshooting sections. This is a preventive inspection guide; measurements and adjustment methods depend on the delivered chassis.
Maintain Your Remote Mower Fleet
If a track has already come off, read our guide on track derailment causes and field checks. For authorized chassis instructions, visit MERI Support. To evaluate scalable tracked platforms for your commercial fleet, explore our remote control mower range.
Need a mower recommendation for your terrain or project?
Get a Quote