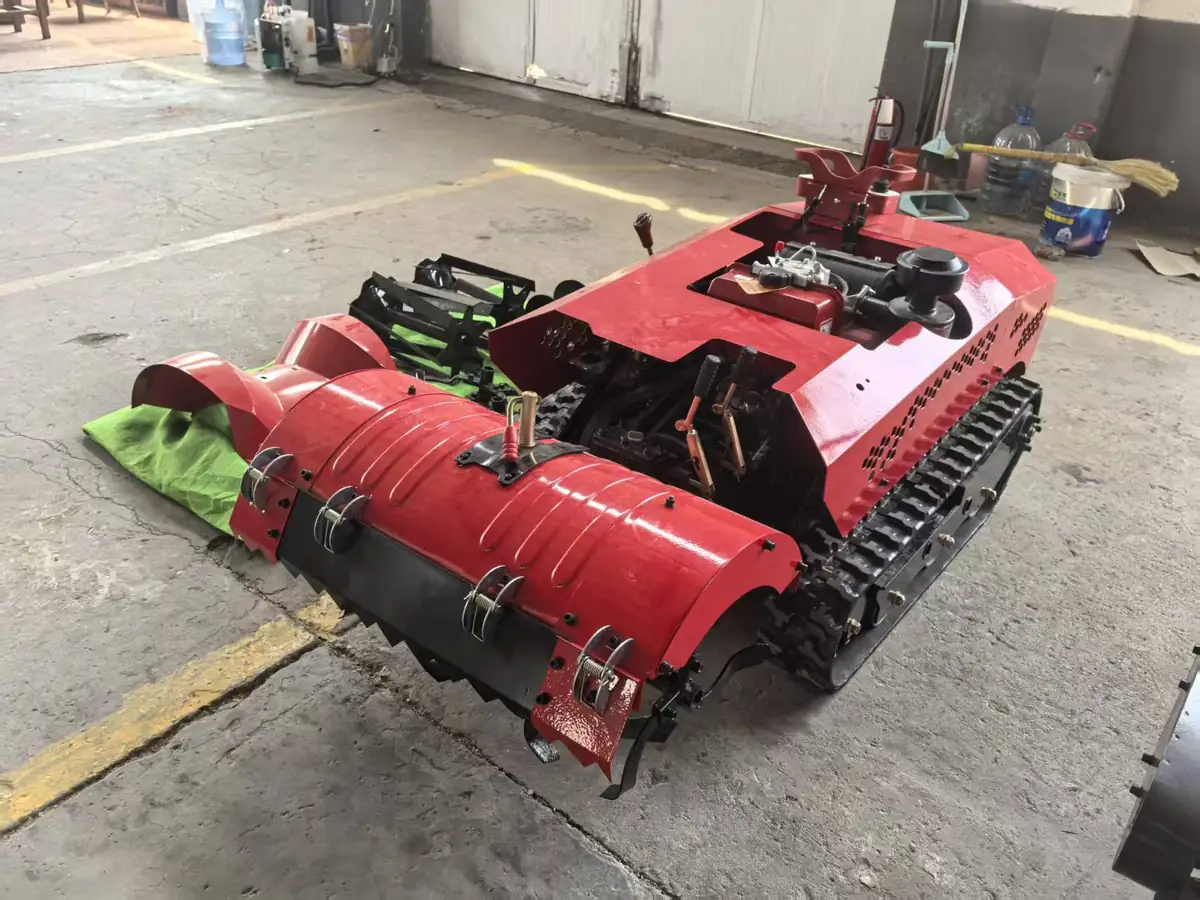
Rotary tiller blades can wear while the machine still runs normally. Damaged or worn blades may contribute to an uneven finish, but soil condition and machine setup matter too. For orchard and field operators, a consistent inspection is more useful than judging blade life by appearance alone or relying on an arbitrary hour target.
Signs that tiller blades need attention
Inspect the full working width rather than only the easiest blades to see. Compare corresponding blade positions and look for chipped, bent, cracked, loose, missing or noticeably unevenly worn components. Check the visible mounting points and hardware for damage. If a blade has shifted or does not appear secure, follow the attachment manual before operating again.
Also watch for changes in the finished soil surface or material flow. These symptoms can have several causes, including moisture, working depth, travel speed or debris buildup. Treat them as a reason to inspect the full implement rather than assuming blade wear is the only issue.
When to replace rotary tiller blades
Blade service life varies with soil abrasiveness, stones, moisture, working depth, operating conditions and blade design. Follow the wear limits and inspection intervals for the exact implement instead of a universal calendar or run-time estimate. Replace blades that are cracked, bent, missing, loose or beyond the maker’s wear limit. If you find damage to the mounting structure, stop and follow the manual’s repair guidance before returning to work.
- Before work: check the head for missing or loose blades and visible damage.
- After impact: stop safely and inspect the affected area after striking a stone, root or other hard object.
- When wear is uneven: compare matching blade positions and inspect the carrier, mounting hardware and head for the cause.
- Before ordering: confirm the implement type and exact blade part number using the machine’s parts information.
Confirm the attachment and blade pattern
A multi-function machine may use different ground-working attachments. Rotary tiller blades, ditching tools and other cutting components are not interchangeable just because they look similar. The blade shape, orientation and mounting arrangement must match the exact attachment.
Before ordering, identify the machine and attachment, then compare the worn part with the correct parts information. Photos of the complete head, the blade and its mounting point, plus the machine identification help the parts team confirm what is fitted. Mention any known changes to the original configuration.
Safe inspection and replacement basics
Before servicing ground-engaging tools, follow the manual’s parking, shutdown, isolation and attachment-securing steps. Wait for all moving parts to stop. If the attachment must be raised, use the support method specified for that machine. Keep hands and tools clear until the machine is isolated and the attachment is secure.
Use the manual for blade removal, orientation, installation sequence and fastener requirements. Do not reverse, sharpen, grind, mix or replace blades in a particular pattern unless the instructions for that attachment allow it. Use the specified hardware and tightening procedure; do not guess torque values from another implement. Refit guards and complete the required checks before restarting.
Make replacement easier to plan
A simple service log makes wear and parts planning easier to review. Record operating hours, soil conditions, impact events, blade positions checked or replaced, and the part numbers installed. Repeatable photos can help compare condition over time. Use the manual as the authority for service limits and approved replacement parts.
Frequently asked questions
How do I know if rotary tiller blades are worn out?
Compare them with the manufacturer’s wear criteria and inspect for broken, bent, cracked, loose or unevenly worn blades. A rough finish is a prompt to inspect, but it may have causes beyond the blades.
Can I sharpen rotary tiller blades instead of replacing them?
Only if the instructions for your exact blade and attachment allow it. Do not grind or reshape a blade without approved guidance.
Should I replace all tiller blades at once?
Follow the attachment’s parts and service instructions. Replacement patterns vary by design, and the correct arrangement matters for the rotor.
Can one blade fit every MERI tiller attachment?
No. Confirm the model, attachment and blade part number before ordering. Different tools and configurations may use different blades.
Send MERI the machine details and clear photos of the head and blade mounting position before ordering parts.
Explore MERI multi-function machines Read the orchard tillage-depth guide
Need a mower recommendation for your terrain or project?
Get a Quote