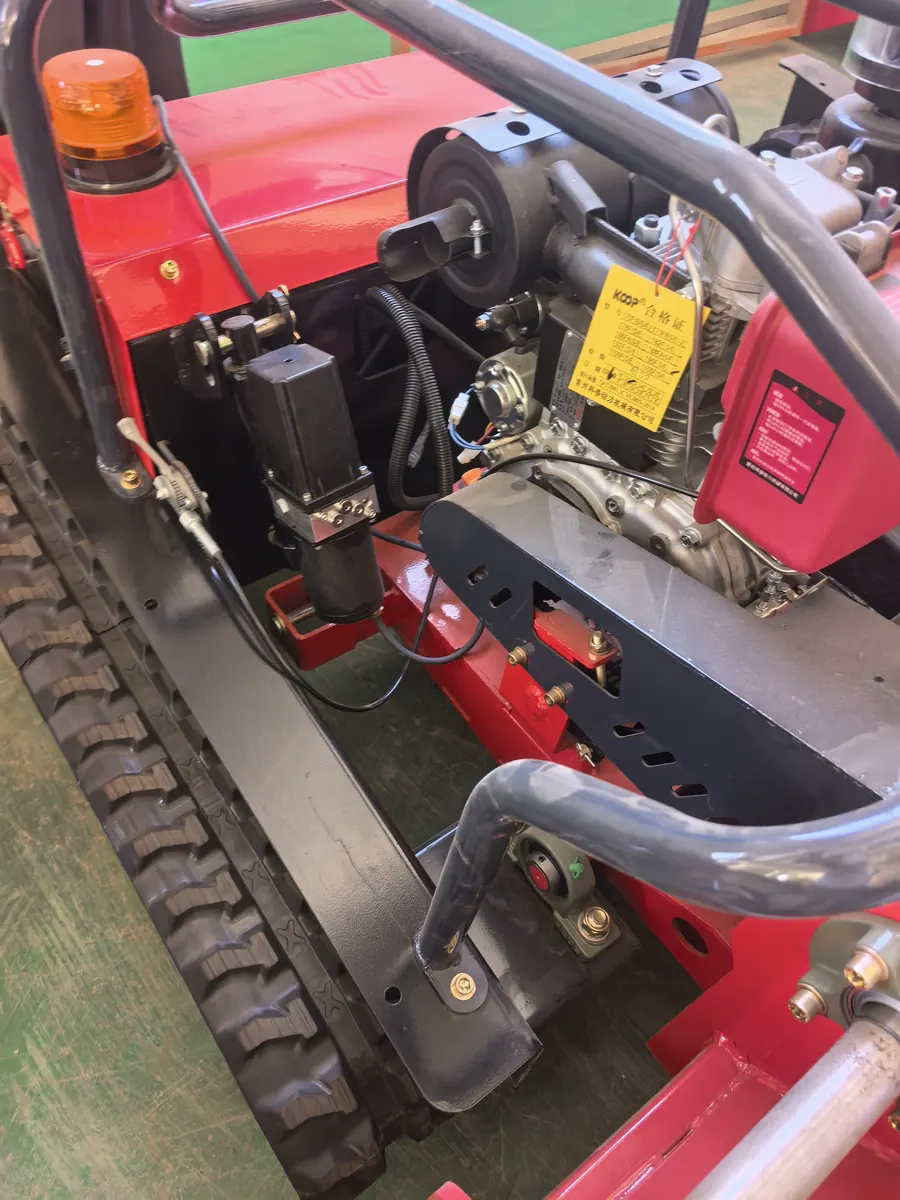
Even a small hydraulic seep can take a mower out of the day’s plan. It can leave fluid on the machine, hide the source of a fault and turn a quick inspection into repair work. This remote mower hydraulic hose leak inspection checklist helps operators document what they see and pass useful information to a qualified technician. It applies only to machines fitted with hydraulic circuits; layouts differ between models.
First, make the machine safe
Hydraulic fluid under pressure can penetrate skin and cause a serious injury that may not look severe at first. Do not touch a suspected leak, loosen a fitting to “check” it or run the machine while someone is looking closely at the hose. Follow the machine manual for shutdown, isolation and pressure relief; if you are unsure how to do that, keep clear and call a technician.
Do not use cardboard, paper or a bare hand to find a leak while the system is operating. A pinhole stream can be difficult to see. If fluid is injected into skin, seek urgent medical care and tell clinicians that a high-pressure hydraulic injection may have occurred.
Remote mower hydraulic hose leak inspection checklist
- Stop and isolate. Park on stable ground, lower the implement if the manual allows, shut down and secure the machine using its specified procedure.
- Look from a safe distance. Note fresh wetness, a drip trail, mist, pooled fluid, a damaged sleeve or a hose that appears displaced. Do not reach into a hot or moving area.
- Identify the location. Record which side of the machine and which nearby component the leak appears near. Do not guess which hose or circuit is responsible.
- Take clear photos. Capture one wide view for location and one closer image only if it can be taken safely. Include the machine ID or component label if available.
- Record the symptoms. Note when the leak appeared, what the machine was doing, whether a function slowed or stopped, and whether any warning appeared.
- Contact service. Send the notes and photos to the dealer or qualified technician. Ask what information they need before any part is removed or ordered.
What to send the technician
| Record | Useful detail |
|---|---|
| Machine identification | Model and serial or build number from the machine record. |
| Location | Side, assembly and nearby landmark; avoid naming a part unless confirmed. |
| Condition | Visible fluid, damage, sound, smell or loss of function. |
| Timing | When it began and what task or movement was happening. |
| Evidence | Safe-distance photos and any display warnings. |
Do not make these common mistakes
- Do not run the machine to make the leak easier to see.
- Do not tighten, disconnect or cap a line unless the service procedure authorizes it and you are trained.
- Do not replace a hose based only on appearance; pressure rating, fittings, length and routing all matter.
- Do not return the mower to work until the cause is identified, the repair is completed and the system is checked under the correct procedure.
Common questions
Can I check whether a hose is pressurized by touching it?
No. Do not touch a suspected leak or line to test pressure. Use the manufacturer’s procedure and a qualified technician.
Can a hydraulic hose be patched temporarily?
Do not improvise a repair. Use only a repair method and replacement part approved for the machine and circuit.
What if I only see a small amount of oil?
Stop and report it. A small visible amount does not show whether the line is safe or how much pressure remains.
Get the right repair information first
Accurate photos and a clear symptom history help the service team identify the correct next step. For MERI parts or service questions, use the machine details and contact the MERI support and parts team.
Send the machine identification, a wide photo and a safe close-up of the area.
Further reading: Machine operating and service manual; HSE guidance on hydraulic fluid injection injuries.
Need a mower recommendation for your terrain or project?
Get a Quote