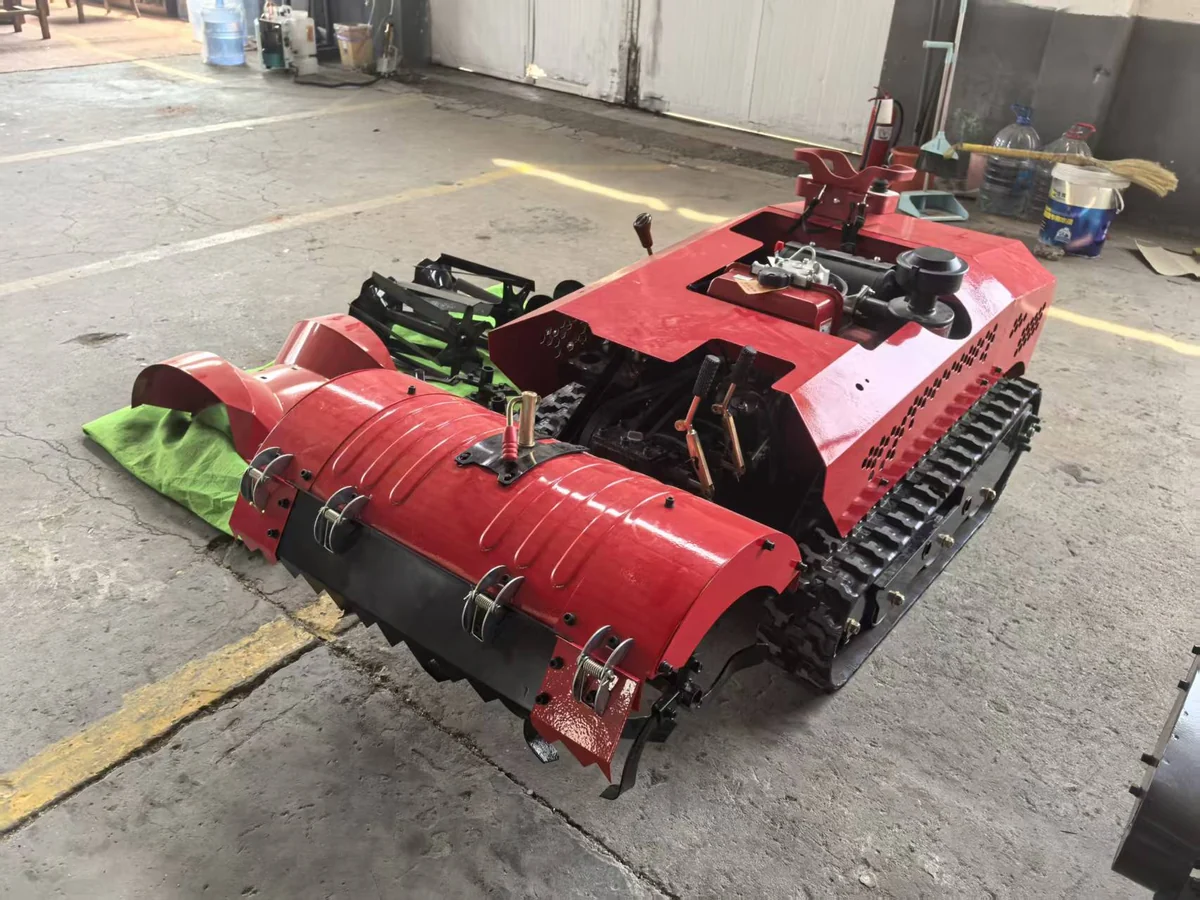
A rotary tiller can easily complete a field pass while quietly hiding loose mounting hardware, tightly wrapped residue, or fractured tines that escalate into serious downtime on the very next block. Running through this practical rotary tiller maintenance checklist before and after every shift helps operators catch visible wear early, keeps the implement job-ready for the next crew, and makes it clear when the machine needs professional workshop service.
Why a tiller needs checks before and after work
Tillage drives high-speed rotating components directly into abrasive earth, buried stones, tough roots, crop residue, and hidden debris. A brief, disciplined walk-around catches missing or fractured tines, binding material wound around the rotor shaft, loosened hitch hardware, or fresh fluid seepage before a small issue causes avoidable downtime. A short inspection log also gives the next operator a clear handover.
Because tracked multi-function carriers can be configured with diverse implements, powertrains, and control options, this checklist serves as an operational walk-around rather than a universal maintenance manual. The documentation delivered with your machine remains the sole authority for service intervals, lubrication points, mechanical adjustments, wear thresholds, and approved repair procedures.
Before starting: rotary tiller maintenance checklist
- Confirm the work area. Scout the target pass for surface rock, discarded wire, drip irrigation tubing, tree roots, buried utilities, or hard obstacles that could shatter tines or become dangerous thrown projectiles. Never start cultivating until identified hazards are flagged or removed.
- Park and prepare safely. Position the crawler on level, stable ground. Work through the shutdown and isolation procedure specified in your operator manual before touching the tiller attachment. Make sure bystanders stay well clear of the machine and its working perimeter.
- Inspect tines and working parts. Examine the rotor for missing, cracked, bent, or abnormally worn tines, checking closely for stress fractures around the mounting pockets. Inspect for wire, baling twine, or heavy vines wrapped around the rotor shaft only after all motion has completely stopped and you have followed the manual’s procedure for making the machine safe to inspect.
- Check guards and mounting points. Verify that all protective hoods, safety shrouds, hitch pins, and attachment linkages are present, properly aligned, and firmly seated. Never operate the machine with a missing safety shield or a mounting interface that shows looseness, cracks, or distortion.
- Look for leaks or abnormal wear. Inspect the carrier chassis, gearbox area, and attachment frame for fresh oil seepage, casting cracks, missing fasteners, or impact marks. If your build includes accessible hoses, lines, or electrical harnesses, check for chafing against sharp edges, tight kinks, or outer sleeve damage.
- Review the power and travel systems. Follow the model-specific manual for all baseline engine, fluid, battery, rubber track, and running gear checks that apply to your build. Never transfer service limits from a different carrier or guess an operating adjustment.
- Confirm controls before the pass. In a clear, open staging area, test the remote transmitter to verify that travel drive, steering maneuvers, and attachment engagement respond predictably. Immediately halt the test if machine response feels delayed, erratic, or inconsistent with the manual.
After the pass: clean, inspect and record
- Conclude work and make the machine safe according to its delivered instructions. Wait until every moving part has stopped completely before approaching the tiller deck.
- Inspect the tillage box for packed soil, root clumps, tangled wire, or tough crop residue. Clear away buildup using only the tools and cleaning techniques authorized in the manual, keeping hands well away from sharp cutting edges and pinch points.
- Take a second look at the tines, deflector shields, mounting pins, and fluid lines to spot any fresh wear, play, or weeping that developed under load. If the tiller struck an obstacle or produced unusual chatter, vibration, or drag during the shift, tag the machine out of service until it is properly evaluated.
- Log your inspection findings, note any cleaning or service completed, and record items that require workshop follow-up. Maintaining a brief, consistent log gives the relief operator a clear record of equipment condition before the next shift starts.
Use the manual for scheduled maintenance
Pre-shift walk-arounds complement regular service routines but do not replace scheduled shop maintenance. Always consult your delivered documentation to determine the correct lubricants, grease zerks, inspection intervals, and adjustment procedures for your specific engine, carrier chassis, and tiller head. If an operating issue or repair procedure is not detailed in your manual, consult your equipment supplier or an authorized service technician instead of attempting makeshift fixes.
To explore machine platforms and attachment specifications, visit the MERI ME-RT PRO multi-function rotary tiller page. If you are evaluating machinery options for orchard floor cultivation, explore our detailed comparison on rotary tiller versus compact tractor use in orchards.
Frequently asked questions
How often should I inspect a rotary tiller?
Check it before and after operation, and follow the model-specific manual for scheduled service. Exact intervals and adjustments depend on the machine and attachment.
Can I clear wrapped wire while the machine is switched off?
Do not rely on the switch alone. Follow the manual’s complete shutdown and isolation procedure, wait for all movement to stop and use only an approved method to clear the implement.
What should I do if the tiller vibrates or makes a new noise?
Stop work, secure the machine and inspect only the checks allowed for an operator. If the cause is not obvious or the issue remains, arrange service before returning to work.
Compare the carrier and attachment configuration with your crop rows, access and field conditions.
Need a mower recommendation for your terrain or project?
Get a Quote