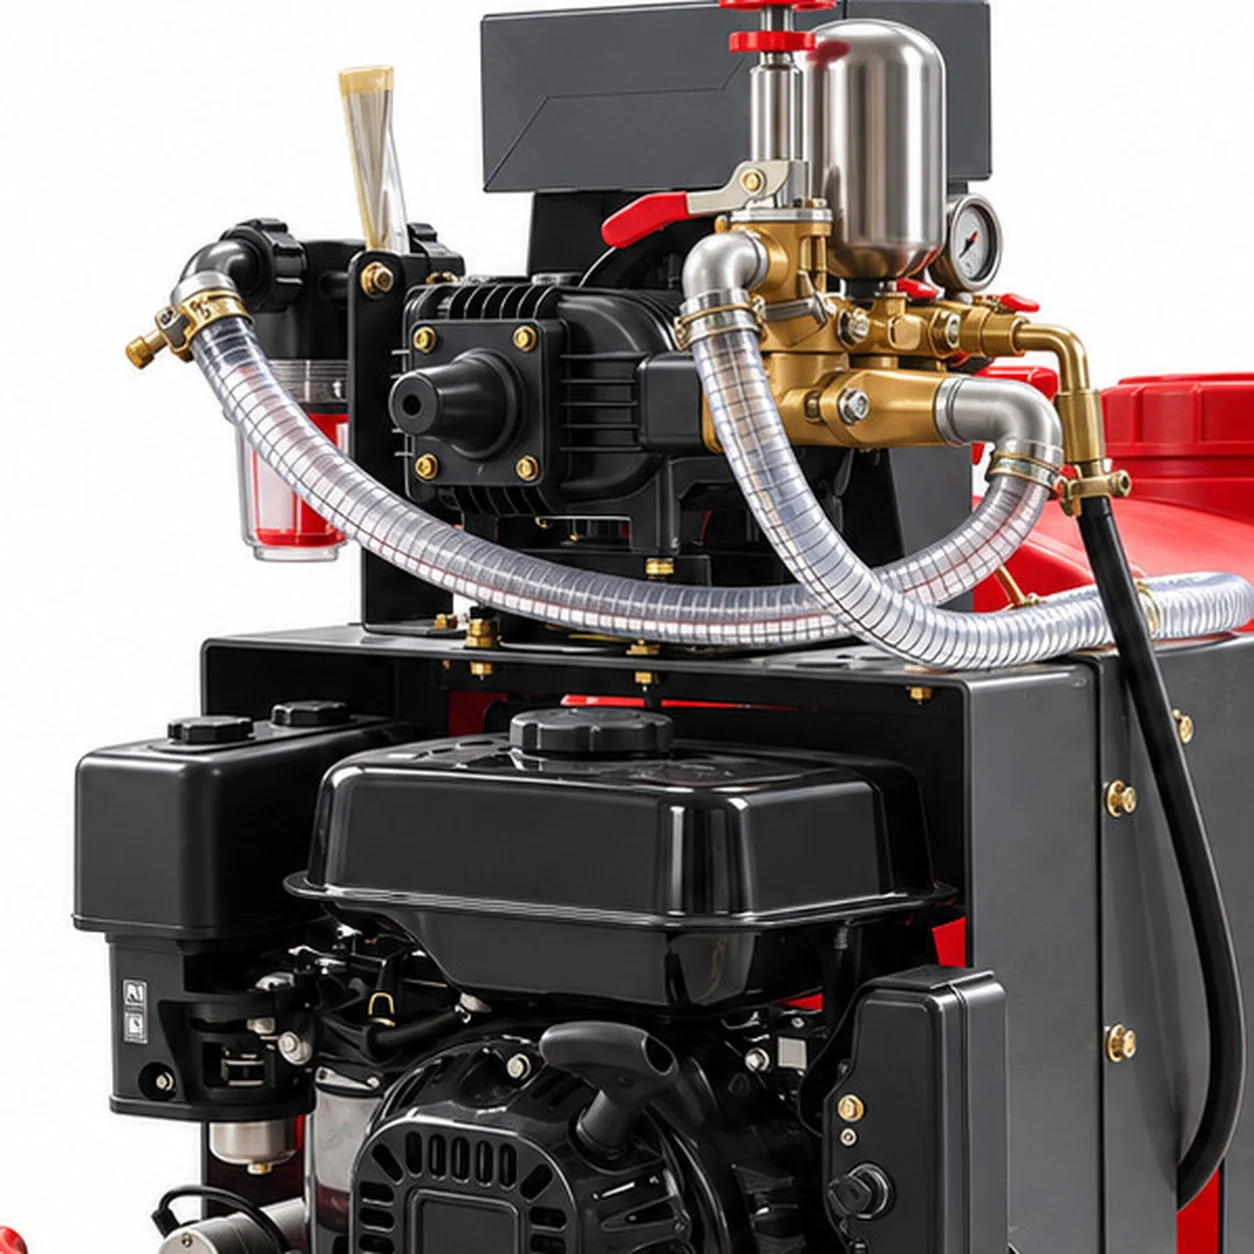
Short answer: In most field sprayers, liquid flows in one loop. It leaves the tank through a suction filter, passes the pump, and reaches a pressure regulator. From there, part of the flow goes to the spray lines and nozzles. The rest returns to the tank. A gauge shows line pressure. Filters sit before the pump, in the lines and at the nozzles. Learn this loop and most faults become easy to trace.
Buyers often ask for a sprayer diagram before they order. Mechanics ask for one when pressure drops. This guide walks through the parts in the order the liquid meets them. It is written for dealers, service staff and farm managers who look after tracked sprayers.
The liquid path, step by step
- Tank. Holds the spray mix. The outlet is usually at the lowest point, so the tank can drain.
- Suction filter. Catches debris before it reaches the pump. This is the first filter to check.
- Pump. Creates flow and pressure. Many sprayers use diaphragm or piston pumps. Your parts list names the type.
- Pressure regulator. Sets the working pressure. Extra flow goes back to the tank through a return or bypass line.
- Pressure gauge. Shows line pressure. A wrong reading leads to a wrong dose, so keep it accurate.
- Control valves. Open and close the spray lines. A boom often has several sections. An airblast unit may have left and right sides.
- Line filters. Protect the nozzles from fine debris that passed the pump.
- Nozzle bodies, nozzle filters and tips. Turn the liquid into droplets. On an airblast sprayer, the fan air then carries the droplets into the canopy.
Boom and airblast: what changes
The loop from tank to regulator looks much the same on both types. The difference is at the outlet end.
| Part of the system | Boom (-B) | Airblast (-A) |
|---|---|---|
| Outlet | Nozzles spaced along a boom | Nozzles around a fan outlet |
| Spray delivery | Liquid pressure through the nozzles | Spray carried by high-volume airflow |
| Typical crops | Greenhouses, vegetables, flowers, nurseries | Apple, pear, citrus, walnut, vineyards |
| Set per order | Boom height, boom width, nozzle quantity | Fan size and airflow |
| Tank sizes in the RCS series | 100–800 L (seven sizes) | 100–800 L (seven sizes) |
Source: MERI agricultural sprayer series page, checked November 2026. MERI states that pump, filters, nozzles and plumbing are matched to the chemical and coverage plan. Pump type, flow and pressure range are not published for the series. Confirm them on the TDS of your configuration.
Using the diagram to find faults
Work along the loop in the same order as the liquid. Check one part at a time.
- Low pressure everywhere: check the suction filter, then the regulator setting and the return line.
- Pressure jumps or pulses: look for air leaks on the suction side and check the pump.
- One section weak: check that section’s valve, line filter and nozzle filters.
- One nozzle weak: clean or replace the nozzle filter and tip.
- Gauge reading looks wrong: test the gauge before you change anything else.
Our sprayer pump troubleshooting guide covers low output in more detail. For gauge checks, see how to check a sprayer pressure gauge. Blocked tips are covered in cleaning a clogged sprayer nozzle.

Draw your own diagram for each machine
A simple sketch saves time on every service call. Make one when the sprayer arrives, before the first season.
- Photograph the tank outlet, pump, regulator, valves and filters.
- Trace each hose and mark where it goes.
- Write the filter mesh sizes and nozzle tips you use.
- Note the pressure range you work at for each crop.
- Keep the sketch with the service record and the TDS.
Dealers can add the sketch to the handover pack. When a customer calls with a fault, both sides look at the same drawing.
Safety before you open any line
- Stop the engine and release pressure before you loosen a fitting.
- Rinse the system with clean water before repairs, where you can.
- Wear the protection the product label asks for.
- Catch spilled liquid. Do not let it reach drains or water.
Selling sprayers in Italy? Our Italy market page shows how MERI supplies dealers there.
What to send MERI
- Sprayer model and serial or order number, if you have it.
- Boom or airblast type and tank size.
- Crop, products used and target pressure.
- Photos of the pump, regulator and filters.
- Parts you want to stock and destination country.
Frequently asked questions
Why does a sprayer need a return line to the tank?
The pump moves more liquid than the nozzles use. The extra flow goes back to the tank through the regulator or bypass. On many sprayers this return flow also helps keep the mix moving.
Where should I check first when pressure drops?
Start at the suction filter. A blocked suction filter starves the pump. Then check the line filters, the nozzle filters and the regulator setting.
Is the pump and nozzle setup the same on every MERI sprayer?
No. MERI confirms the final pump, nozzle, fan and engine for each order. Ask for the plumbing layout and parts list of your configuration.
What should a dealer keep in stock for plumbing repairs?
Filter elements, nozzle tips, nozzle filters, hose clamps and pump service parts for the models you sell. Ask MERI for the part list that matches each order.
Get the plumbing layout for your MERI sprayer
Tell us the model, crop and spray type. MERI will send the configuration, parts list and a quote for dealers, contractors and growers.
Need a mower recommendation for your terrain or project?
Get a Quote